The classic 50% brick bond is familiar from brickwork and smaller tiles. With large-format porcelain, however, placing the centre of one tile beside the end of the next can create an installation problem.
The centre of a tile may be its highest point
Manufactured tiles can have a slight bow. When the middle of one tile meets the end of another, the change in height can become more visible. The longer and larger the tile, the more the pattern can expose that relationship.
The exact result depends on the product and manufacturer guidance, but the layout should not be selected by habit alone.
A third-bond or aligned layout may be better
Some large-format ranges recommend a more limited offset or aligned joints to reduce the interaction between the centre and end of adjacent pieces. The correct arrangement comes from the tile’s characteristics, dimensions and intended application.
The visual difference may be subtle on a sample board and obvious across a fully lit bathroom wall.
The pattern must be tested with the actual tile
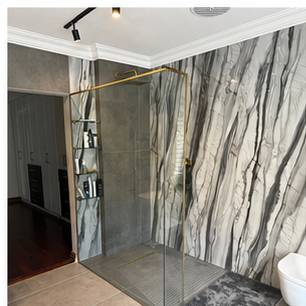
Before fixing, review the product, dry layout, lighting, corners, niches and grout lines together. If the range has strong veining, the pattern may also need to be balanced visually rather than repeated mechanically.
The best layout is the one that respects both the tile’s manufacture and the architecture of the room.
Large-format tile rewards planning. It should not be forced into a pattern simply because that pattern worked on a smaller renovation.
Continue with why levelling clips cannot level a substrate, or read why lippage appears in tiled bathrooms.